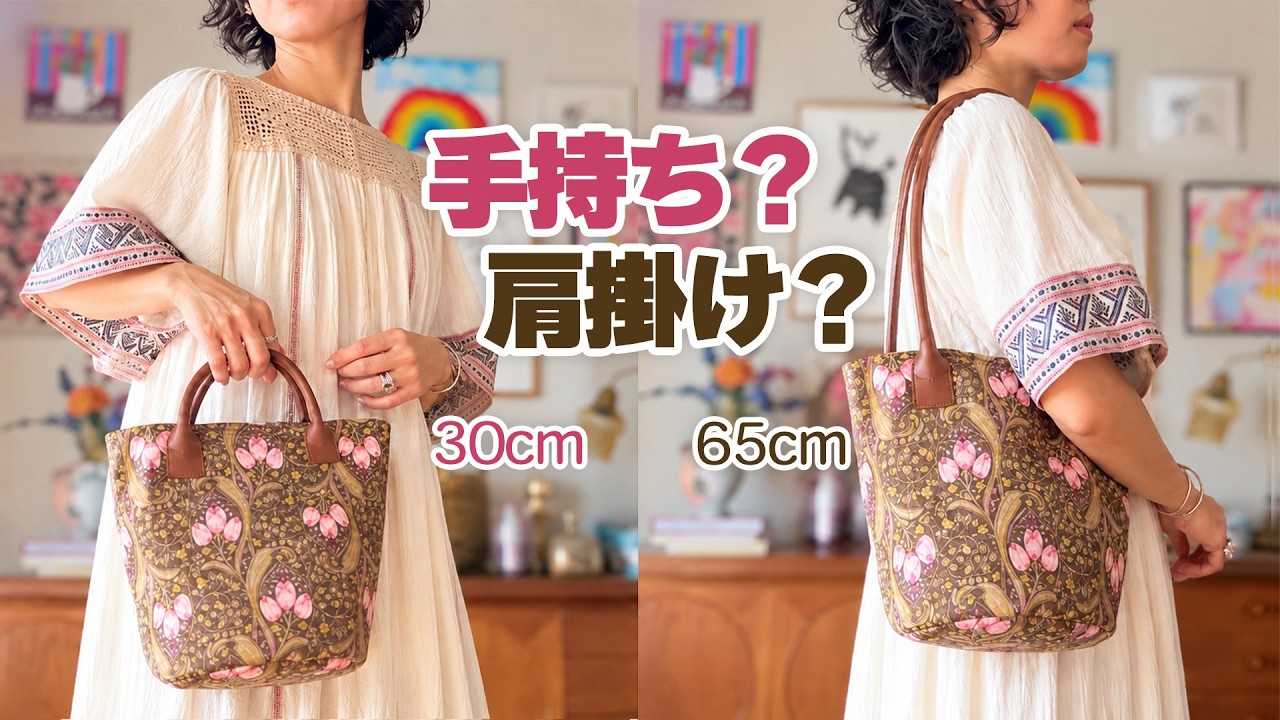
One bag, two ways to carry it. Use 30 cm handles for a compact tote you can carry by hand, or 65 cm handles to wear it over your shoulder. The bag body is the same for both versions. All you need to cut it out are a few rectangles and two circles. No printed pattern needed.
1. Watch the sewing tutorial
Watch the round-bottom tote tutorial
- 1:34 Materials and cutting dimensions
- 1:57 Start sewing
- 4:19 Attach the round base
- 5:31 Keep the seam allowance even around the curve
- 12:23 Compare the two handle lengths
2. Finished size and cutting dimensions
The finished bag is about 24 cm tall, not including the handles, with a base 18 cm across. You’ll need outer fabric, lining fabric, fusible fleece, and one set of bag handles. Fuse the fleece to the wrong side of the outer fabric.
- Outer body: two rectangles, 27 × 30.5 cm each
- Lining body: two rectangles, 25 × 30.5 cm each
- Outer base: one circle, 20 cm in diameter
- Lining base: one circle, 20 cm in diameter
The lining panels are shorter than the outer panels. Lay out the pieces before buying fabric: the amount you need depends on the fabric width, the direction of the print, and whether you want to match it at the seams.
3. Sew the bag
Mark the handle positions, then sew the side seams of the outer body. Divide the lower edge of the body and the circular base into quarters and match the marks. At each mark, sew a short line of stitching on the 1 cm seam line to hold the layers in place.
Snip into the body’s seam allowance about every 1.5 cm, cutting 7–8 mm deep so you don’t reach the seam line. Clip the layers together between the quarter marks. With the circular base underneath, sew slowly around the curve, using the guide beside the needle to keep a 1 cm seam allowance.
Repeat for the lining, leaving an opening in one side seam for turning. With right sides together, sew the lining to the outer bag around the top edge. Turn the bag right side out, close the opening, and topstitch around the rim. Attach the handles last. Their placement differs by length, so check the video and the instructions that came with your handles.
4. Choose your handle length
- 30 cm: A compact handle for carrying the bag by hand.
- 65 cm: A longer handle that lets you carry the bag over your shoulder and keep your hands free.
INAZUMA provided the handles used in this project.
Using this tutorial: KOTOBUKIsewing retains copyright in the tutorial and pattern. Please do not sell the pattern itself. You may sell finished items at your own discretion and responsibility. If you do, please credit “Pattern: KOTOBUKIsewing.”
